How to Make Chenille Patches?
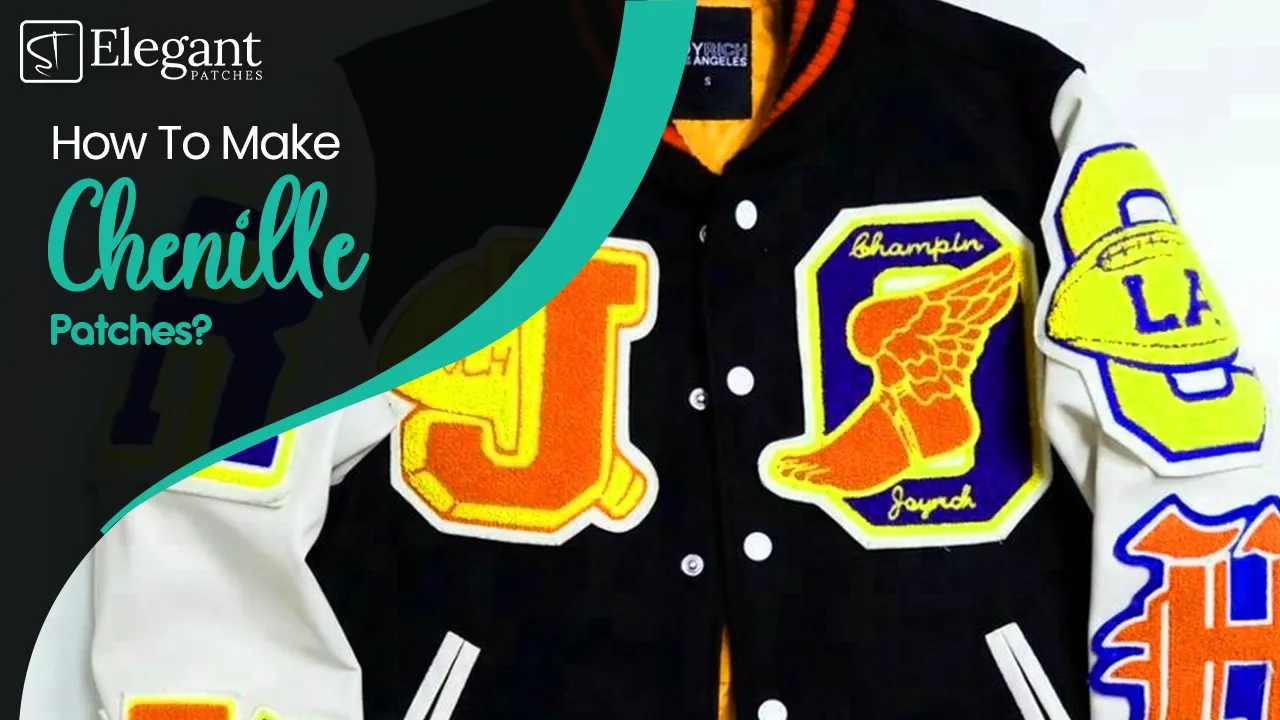
Once the dominant player in letterman, now commonly used in stylish clothing and accessories all around the world—chenille patches have come a long way. While these are still a popular choice for logo and lettering patches on sports jackets, jerseys, and caps, varsity-style jackets are also popular as casual wear.
Diving into the many creative uses of custom chenille patches is fun. You can add these to the lapel of jackets, hoodies, and sweatshirts with your brand's logo. Latch larger chenille patches to the back with brand artwork or any kind of artwork related to a cause if that's what your chenille patches are for.
In a nutshell, there’s no end to creativity when it comes to chenille patches. Rest assured, you can make your own custom-made chenille patches and get awesome results!
That said, a chenille patch is as good as the amount of care and consideration that goes into the manufacturing process. It’s the process of how to make chenille patches that most people are not familiar with and don’t know where to begin.
Starting with the design process, ending with receiving your batch from your patch manufacturer, each step in between matters to determine how well the patches will turn out—and whether or not these will match the patches you envisioned!
Let's start. Here is a brief but complete guide on how to make chenille patches!
How To Make Chenille Patches: A Simplified Guide
Here’s why chenille patches are the ultimate choice for you, defined in one word: texture.
First, understand that chenille is not the same as embroidery, even though the base material (yarn) is the same. Other than this likeness, chenille is vastly different from embroidered patches.
Since chenille is made using a stitching technique called bottom-up, the resulting look is similar to that of a towel with stiff fibers. The appearance is textured but soft, as these patches are softer than embroidery, or any other kinds of patches for that matter. These patches also look amazing since the end result is very vivid.
Need To Order Custom Chenille Patches Online?
Reach out to Elegant Patches for information or request a free quote today.
If you're thinking about how to turn your artwork into custom chenille patches, you're on the right track! Chenille patches have a really stylish look that sets them apart from other types of custom patches. They're a fantastic way to make your products pop.
You can transform any design into chenille, whether it contains numbers, letters, symbols, and more. The sky's the limit!
Here is how to make chenille patches:
Pick An Artwork To Convert
Pick your design. Is it a logo or emblem, a series of numbers or letters, or a complex piece of art that you conjured up on Canva?
Your image file should have a good resolution so that the pixels don't scatter and spread when the image is converted into a digital rendering of what the patch will look like once stitched—a process that patch manufacturers call digitizing. 300 dpi is typically ideal for a sample image.
Also, don't use too-complex artwork if it's chenille patches you're going for. Unlike embroidery or woven or PVC patches, chenille patches don't have clear-cut lines, and intricate images may result in a patch with unclear smaller bits of design (read Fun Facts About Chenille Patches).
Submit Your Image For A Quote
Got the design finalized? Good! The next step in how to make chenille patches is contacting the patch makers. Go window shopping and check rates. You want high-quality with competitive pricing and a low minimum order limit to avoid wasting your budget as well as having too many leftover patches.
It’s also smart to look at past samples wherever you are keen on placing an order. For instance, if you need sports chenille patches for letterman jackets, it is best to shop from patch experts who specialize in sport chenille patches or similar orders.
Also, ask about certain details such as how large a patch can be, how many colors they can accommodate in chenille patches while preserving the look of the original artwork, and if you can get chenille patches with bespoke works (on to the next point).
Looking For Affordable Custom Chenille Patches?
Reach out to Elegant Patches for information or request a free quote today.
Consider The Oomph Factors
How to make chenille patches that stand out in a crowd and never fail to be memorable? Depending on what your patch artists offer, you can go for certain features, including:
- Add some metallic into basic chenille colors. It could be metallic thread (which will be added embroidery style) or glitter. You can also find some manufacturers who use neon threads.
- Add an embroidered border. If you need chenille patches that stand out well against the surface they’re on, adding an embroidered border can be useful. It’s called a merrowed edge patch.
- Pick the brightest colors. Remember, you can choose a lot of colors and complex designs for chenille patches, so make the most of what you can work with. Loud colors make a better impact.
Don’t hesitate to take advice from your patch artists and get their feedback on whether you think your artwork and chosen design features will show up well on the final set of patches.
Select Your Preferred Patch Backing
When talking about how to make your own custom chenille patches, the “backing” is an important factor. Whether we are talking about custom patches for shirts and hats or bags, the backing matters in terms of how you attach a patch to a piece of clothing or accessory. If you choose no backing or "backless" patches, you get a simple mesh background. These are also the patches you get the sew-on backing.
The other kind of backing common for chenille patches is iron-on backing. Made with a special adhesive layer, these patches stick to fabric when you iron it on. Since chenille patches are made out of yarn—which is safe for ironing—you can go ahead and place an order for iron-on chenille patches without hassle.
Finally, you get Velcro backing. Laid with the hook and snap tape, these patches are perfect if you need something temporary or limited-edition in place of regular patches for uniforms, tote bags, etc.
Final Steps To Getting Your Patch
You’ve learned how to make your own custom chenille patches, and now all that’s left is the wait. Once you have provided your image, selected size, backing, and other features, and approved that digitized version of the patch, all you need to look forward to now is delivery!
Elegant Patches – Your One-Stop Shop For Chenille Patches
Do you have any questions about how to make custom chenille patches? Or are you ready to place an order? At Elegant Patches, we choose superior-quality yarn and perform quality assurance checks before we approve a batch of chenille patches for shipping. Reach out to us today for a free quote!